As an Amazon Associate I earn from qualifying purchases.
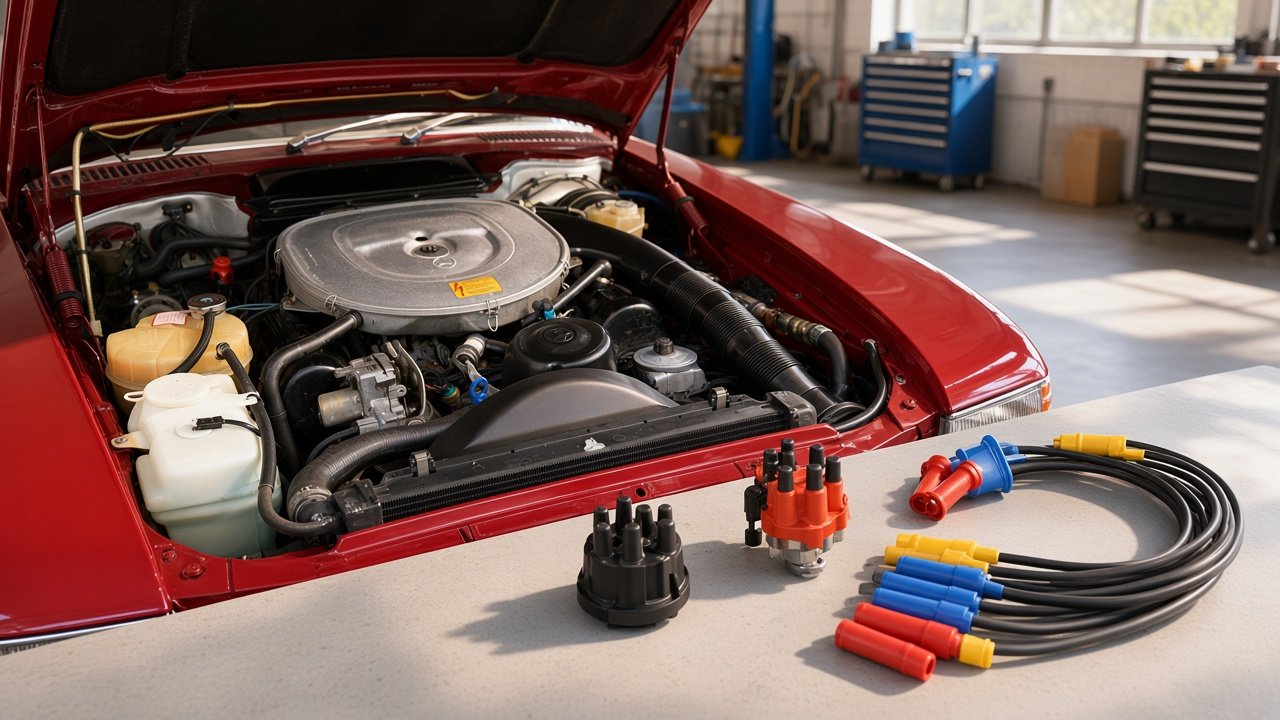
An R107 tune-up is ignition health plus correct timing — plugs alone are not a tune-up.
Related: oil-service and fuel-diagnosis articles when misfires survive a tune-up.
Includes
Plugs, cap, rotor, wires if needed, timing to factory procedure, vacuum/fuel smell check.
Timing and parts
Use specified conditions and marks. Quality ignition parts beat bargain caps that crack in a month. DIY parts moderate; shop adds diagnosis.
Afterward
Road-test cold/hot; keep old parts until proven; note mileage. Tune-ups do not fix dead accumulators or OVP faults.
Common mistakes
Skipping a cold and hot test drive, trusting verbal history without invoices, replacing parts before measuring, and ignoring rust while chasing mechanical gremlins. Another classic mistake is using photos from a different market or year as if they were a parts catalog.
When to stop DIY
Stop when you lack the gauge, puller, or safe support the job needs — or when the first repair did not change the symptom. A second identical guess rarely helps. Pay for diagnosis with a specialist who sees R107s regularly.
Practical takeaway
Know when to stop tuning and start measuring fuel pressure.
Verify procedures against the factory manual for your engine and chassis. I do not invent details about a specific personal car here — use your plates, your invoices, and your measured symptoms.
Shop notes and paperwork
Keep invoices, pressure readings, part numbers, and dated photos of the area before and after work. The next owner — or future you — will ask what was actually done. Verbal “we took care of it” evaporates at sale time.
Safety and scope
Use jack stands on solid ground, relieve fuel/coolant pressure before opening systems, and disconnect the battery when the procedure calls for it. If a step needs a specialty tool you do not own, rent it or hire it — improvising with the wrong lever is how fasteners and fingers break.
If this topic intersects fuel, rust, or safety systems, fix the safety and leak paths before cosmetic or convenience items. That order saves money twice.
Setting ignition timing with a timing light
The question I see most after a cap-and-rotor job is how to actually set the timing. Here is the procedure I follow on an R107 V8, and the same logic applies to the six-cylinder 280SL.
- Find the right number first. The timing spec varies by engine, year and market (Euro vs. US/California), and on many cars by whether the vacuum line is connected. Use the emissions label under the hood or the factory manual for your exact car rather than a forum number.
- Warm the engine fully and make sure idle speed is in range. Timing read on a cold, fast-idling engine is meaningless.
- Clean and mark the balancer. The degree scale is on the crank balancer with a pointer on the timing cover. A dab of white paint on the specified mark makes it readable under the strobe.
- Clip the inductive pickup on cylinder 1’s plug lead. Confirm which lead that is from the manual or the numbered wires. Guessing is the most common reason a light gives nonsense.
- Disconnect and plug the vacuum advance line if your spec calls for it, then read the mark with the engine idling.
- Loosen the distributor clamp just enough to turn the body by hand, rotate slowly to bring the mark to the pointer, tighten, and recheck.
- Reconnect vacuum and check advance. Blip the throttle: the mark should move smoothly. A mark that jumps or doesn’t move points to a worn advance mechanism or a dead vacuum unit.
Finish with a road test. Pinging under load means it is too far advanced for today’s fuel, so back it off a little. A lazy, hot-running engine often means it is retarded. If the mark wanders by several degrees at steady idle, suspect a stretched timing chain or distributor wear before you blame the setting.