As an Amazon Associate I earn from qualifying purchases.
Brakes on an R107 are not exotic, but age turns ordinary parts into safety problems. Pads, rotors, fluid, and soft pedal feel deserve a system approach — not a one-part gamble.
Related: maintenance hub and your model’s service schedule.
Caliper types by era
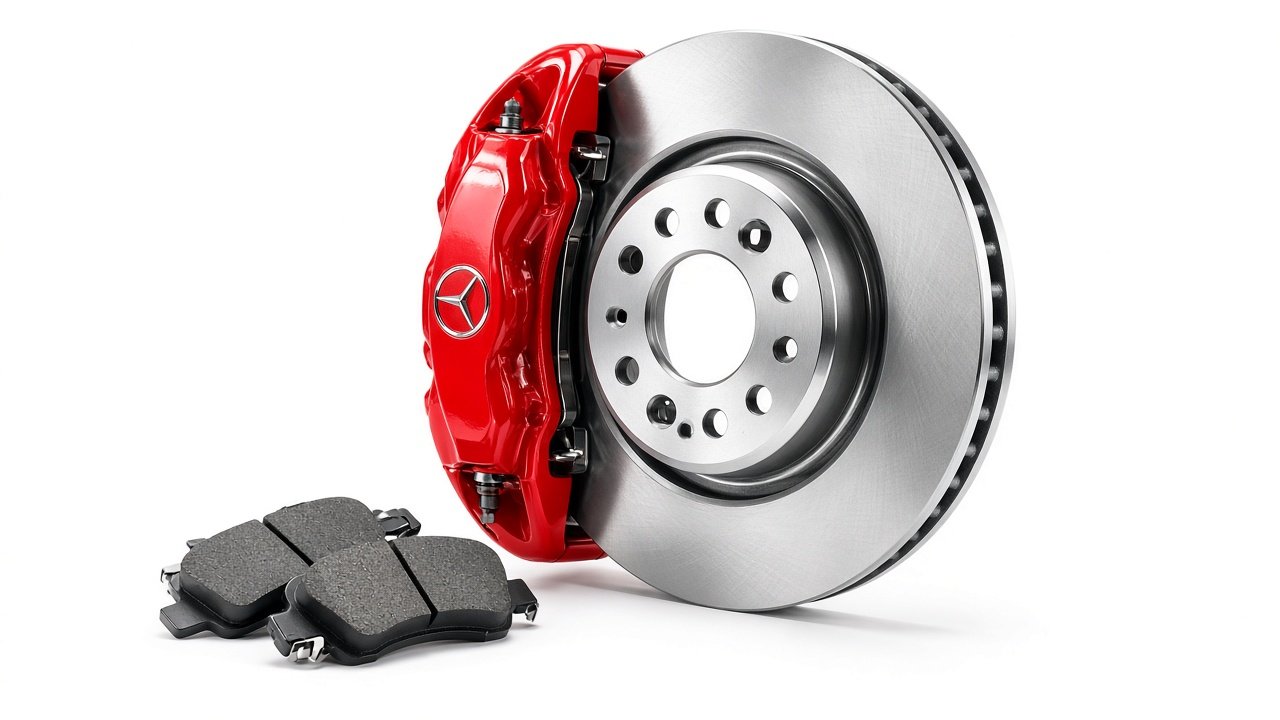
Caliper designs and part numbers change across the long R107 run. Match calipers, pads, and rotors to year and chassis — “SL pads” is not a SKU. If you swap used calipers, rebuild or at least verify pistons and seals before painting them pretty.
Pads and rotors
- Replace pads in axle sets. Measure rotor thickness against minimum; do not chase noise with pads on a rotor that is done.
- Warped-feel pedals are often runout, hub mating surface rust, or sticky calipers — not only “bad pads.”
- After install: bed pads properly and recheck torque on wheels.
Fluid flush
Brake fluid absorbs moisture. Old fluid lowers boiling point and feeds internal corrosion. Flush on a sensible interval, use the correct spec fluid, and keep the reservoir sealed. A soft pedal after a flush means air or a mechanical issue — not “it needs more additive.”
Booster and check valve
Hard pedal can be booster or vacuum supply. Confirm engine vacuum and the check valve before condemning the booster. Hoses that collapse or leak make the pedal lie.
Master cylinder
Internal bypass shows up as a pedal that sinks while held at a light. External leaks at the firewall are more obvious. If you replace the master, bench-bleed and then bleed the whole system.
Upgrade options (honest framing)
Quality OEM-equivalent pads and rotors, fresh hoses, and a proper flush beat random “big brake” kits for a street classic. If you track the car, talk to an R107-experienced builder. For road use, reliability and spare-parts reality matter more than brochure horsepower claims about braking.
Safety red flags
- Pulling hard under braking
- Fluid on the inside of a wheel
- Parking brake that does nothing
- Pedal to the floor once
Do not drive those symptoms “to the next weekend.” Fix them first.
Year-by-year parts matching
Pad shapes, rotor diameters, and caliper castings change across the R107 span. Cross-reference chassis and year before clicking “fits Mercedes SL.” Euro and US cars can differ in details — confirm with the parts specialist using your VIN when the catalog is ambiguous.
Hoses and proportioning
Aged rubber brake hoses expand under pressure and make the pedal feel mushy even with new pads. Replace hoses when they crack or when the pedal feel stays soft after a proper bleed. Do not ignore the proportioning / pressure differential warning lamp if equipped — diagnose it, do not tape over the dash light.
Parking brake
The parking brake is a separate system that freezes from neglect. Cables seize; shoes glaze. Adjust and lubricate pivots. A car that rolls on a mild slope with the lever up is not “fine for a classic.”
Bleed sequence and tools
Follow a sensible bleed order for your chassis. Pressure or vacuum bleeders help; two-person pedal bleeding still works when done patiently. Contaminated fluid that looks dark or milky needs a full flush, not a top-off.
After a brake job
Torque wheels to spec, bed pads, and recheck for leaks at calipers and hoses after the first drive. Keep the first hard stop in a safe empty lot, not in traffic.
Brake fluid flush and bleeding order
Brake fluid absorbs moisture, which lowers its boiling point and corrodes calipers and lines from the inside. I flush on a time schedule, every two years, regardless of mileage.
- Use the correct fluid. Use the DOT specification called for by the cap or your manual (DOT 4 is the usual modern choice for these cars). Don’t mix in silicone DOT 5.
- Remove old fluid from the reservoir with a clean syringe and refill with fresh fluid. Keep it topped up throughout; letting the reservoir run dry puts air in the master cylinder.
- Bleed from the wheel farthest from the master cylinder to the nearest. On a left-hand-drive R107 that usually means right rear, left rear, right front, then left front. Front calipers can have more than one bleed screw, so bleed each one, starting with the inner or lower screw as the manual shows.
- Choose a method: two-person pedal bleeding, a pressure bleeder at the reservoir (set to low pressure), or a one-way valve hose. A pressure bleeder is the cleanest option for one person.
- Bleed each corner until the fluid runs clear and bubble-free. Fresh fluid is visibly lighter than old fluid.
Finish by checking for a firm, high pedal with the engine running. Then torque the bleed screws gently (they snap easily), wash spilled fluid off the paint right away, and road-test at low speed first. A pedal that sinks slowly means a master cylinder or leak problem, not a bleeding problem.