Most R107 electrical problems are not mysterious. After forty years, the usual causes are corroded fuse contacts, tired grounds, dirty switch contacts and relays that have given up. With a wiring diagram, a multimeter and a methodical approach, nearly every fault can be found at home. This is the process I follow, and it is the hub for all the electrical articles on this site.
Where to get wiring diagrams
- Factory service manuals and electrical troubleshooting manuals for your model and year are the best source. See service manuals.
- Owner communities such as BenzWorld and PeachParts often share diagrams and fuse charts for specific years.
- Specialist suppliers and clubs sometimes provide diagrams for common circuits.
Use the diagram for your exact model and year. The 1972 450SL and 1989 560SL are wired quite differently, especially for the fuel injection, climate control and lighting.
How to read Mercedes diagrams
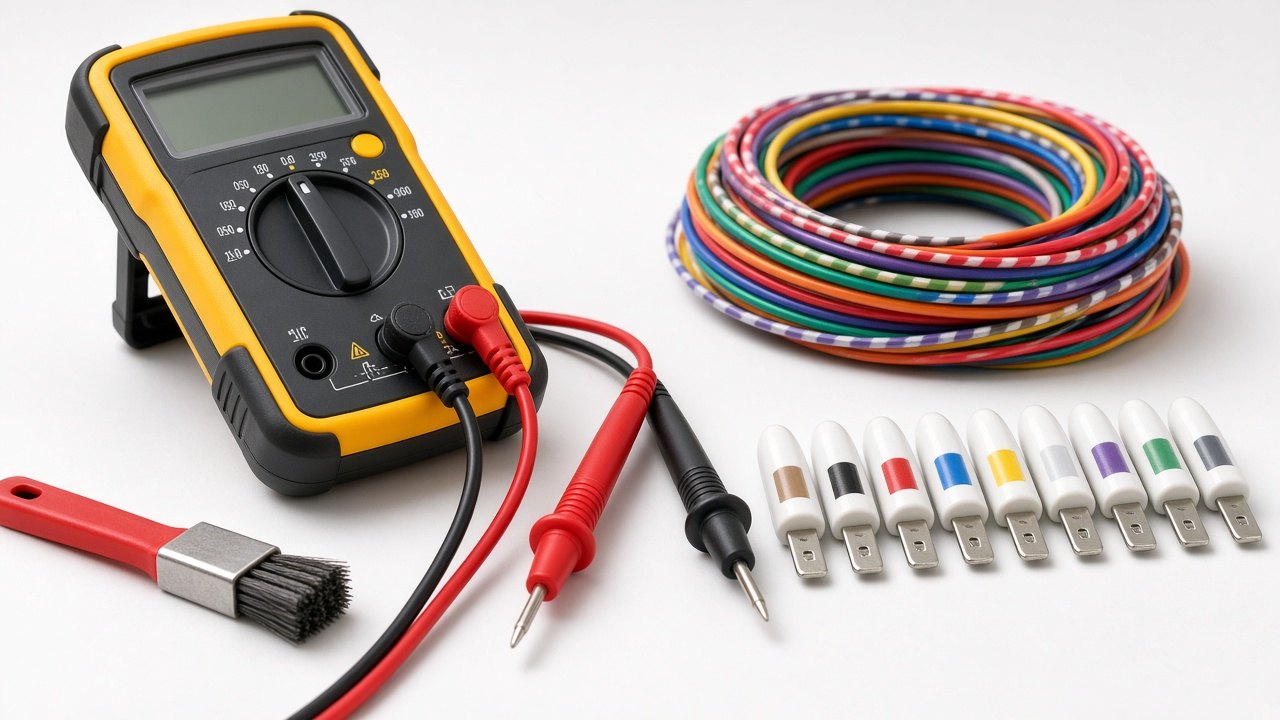
Mercedes diagrams show each component with a code letter and number, and each wire with a color code and cross-section. The colors are abbreviated in German, for example sw (black), br (brown), rt (red), gn (green), bl (blue), ws (white), ge (yellow), gr (grey) and vi (violet). A wire marked “1.5 rt/sw” is a 1.5 mm² red wire with a black stripe. Brown is almost always ground. Terminal numbers follow the German DIN standard: 30 is battery positive, 15 is ignition-switched, 31 is ground and 58 is the parking and instrument lights.
Once you know these, you can trace a circuit from the fuse, through the switch and relay, to the component and back to ground.
Main ground points
Bad grounds cause strange symptoms: dim lights, gauges that read wrong, a starter that clicks, or one fault that seems to affect several circuits. On an R107, check these:
- Battery negative cable to the body and to the engine.
- Engine-to-body ground strap. If this is missing or corroded, current looks for another path, sometimes through throttle cables or the speedometer cable.
- Grounds under the dash and behind the instrument cluster, which affect gauges and switches.
- Rear grounds in the trunk area for the tail lights, fuel pump and antenna.
Exact ground locations vary by year; use the factory diagrams to locate yours. Clean each ground to bright metal, refit with a star washer and protect it with a little dielectric grease.
Fuse box basics
The R107 fuse box is in the engine compartment, on the driver’s side near the firewall on left-hand-drive cars. It uses ceramic “torpedo” fuses with exposed metal strips, typically in 8, 16 and 25 amp ratings. The fuse chart is usually inside the cover.
The most common problem is corrosion where the fuse ends touch the clips. A fuse can look perfect and still not pass current. I rotate each fuse in its clips, clean the clips with a small brush or contact cleaner and replace any fuse that looks discolored. Copper or brass fuses are more durable than cheap aluminum ones.
Test tools
- Digital multimeter with volts, ohms and continuity. A duty-cycle function helps with the fuel injection.
- Test light for quick checks of power and ground.
- Jumper wires with alligator clips for bypassing switches and grounds during tests.
- Wiring diagram for your year.
- Contact cleaner, a small wire brush and dielectric grease.
A good multimeter is the most useful electrical tool you can own. A basic automotive model is enough for everything here: digital multimeters on Amazon.
How I trace a fault
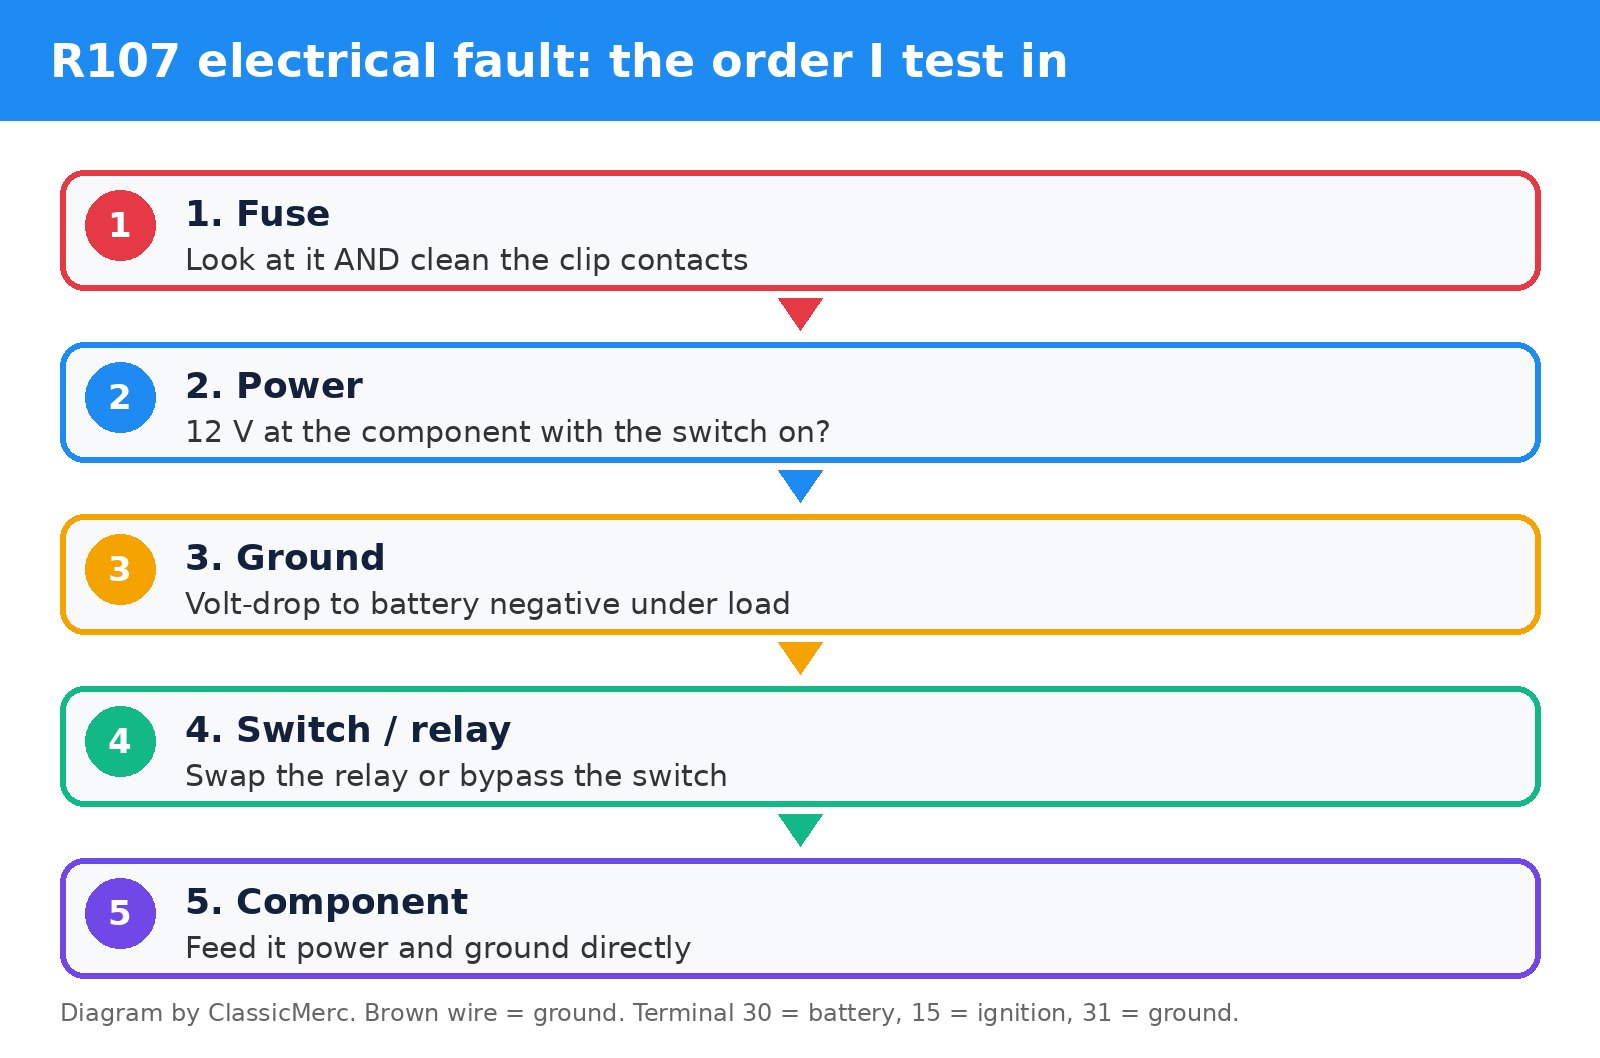
- Check the fuse, including the contact surfaces.
- Check for power at the component with the switch on.
- Check the ground at the component; measure voltage between the ground wire and the battery negative. More than a few tenths of a volt with the circuit working means a bad ground.
- Check the switch and relay. Many R107 circuits use relays; tapping a relay while the circuit is on can show a sticking one.
- Check the component itself by feeding it power and ground directly.
Voltage drop testing is often more useful than resistance testing. A connection can show good continuity with no load and still drop several volts under load.
Common electrical failures
- Corroded fuse contacts in the engine bay fuse box.
- Bad grounds causing gauges and lights to act oddly.
- Headlight switch contacts. See headlight switch.
- Ignition switch electrical section. See ignition switch.
- Blower motor and its switch or relay. See heater blower.
- Cruise control amplifier. See cruise control.
- Wiper relay and motor. See wipers.
- Turn signal flasher relay. See turn signals.
- Parasitic drains that flatten the battery. See battery drain.
- Fuel pump relay and overvoltage relay on fuel-injected cars. See the overvoltage relay article.
Safety
Disconnect the battery before working on wiring that is not being tested live. Never bypass a fuse with a wire, and never fit a larger fuse than specified. A recurring blown fuse means a short; find it.
Quick answers
- Why do several things fail at once? A shared ground or a corroded fuse that feeds several circuits.
- Can I convert to modern blade fuses? Conversion fuse boxes exist, but cleaning and new quality fuses usually solve the problem.
- What does brown wire mean? Ground, in nearly every case.
- Is a wiring harness replacement needed? Rarely. Most faults are local connections.
As an Amazon Associate I earn from qualifying purchases.