As an Amazon Associate I earn from qualifying purchases.
Many R107 repairs start with removing the door panel: window regulators, door locks, mirror cables, speakers and seals. The panel is held by screws and clips, and the clips are easy to break if you rush. Here is the order I use.
Before you start
- Disconnect the battery if your car has power windows or power mirrors.
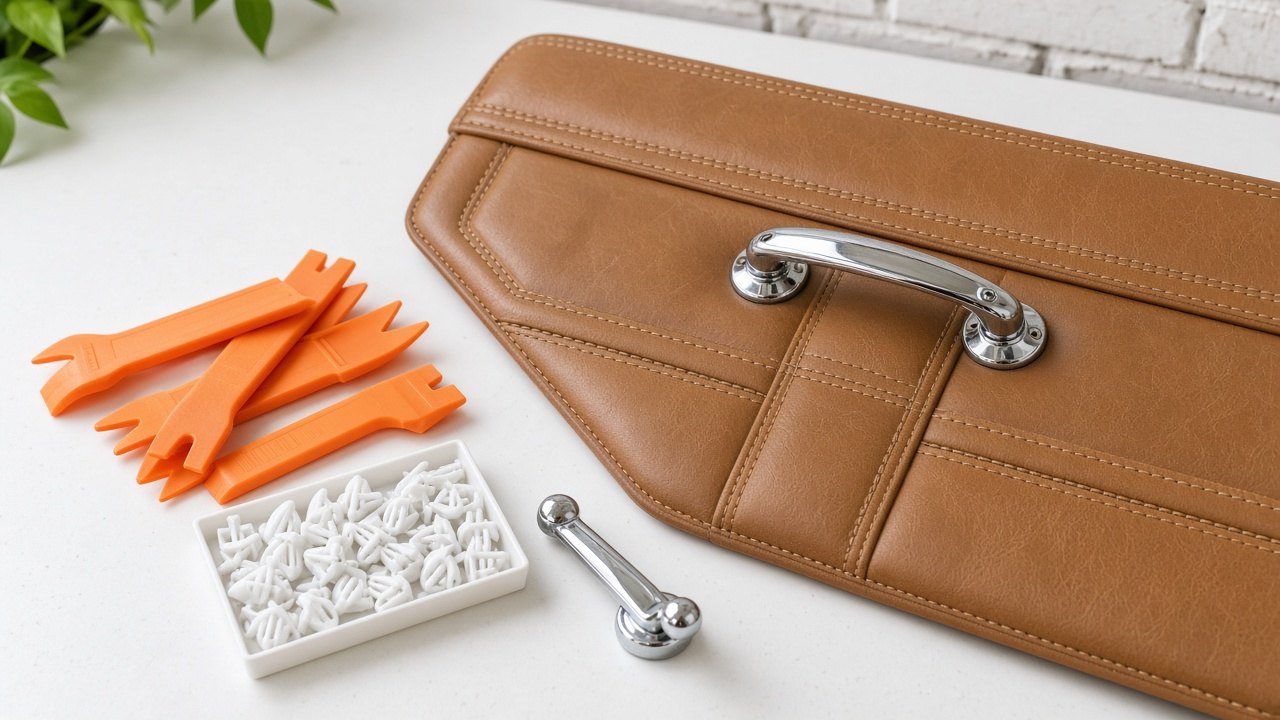
- Have new door panel clips on hand; old ones often break.
- Use plastic trim tools, not screwdrivers, against the panel.
- Lay a towel on the sill to protect the paint and trim.
Screws and clips
The panel is held by screws in places such as the armrest, the door pull and the edges, plus clips around the perimeter. The exact positions vary by year, so look carefully and remove every visible screw before pulling on the panel. Some screws hide behind small covers or trim caps.
Window crank or switch
- Manual windows: the crank handle is held by a clip or screw behind it. Pull back the trim ring and release the clip with a hooked tool, or remove the screw.
- Power windows: the switch is usually in the center console on R107s, not in the door, so there may be nothing to remove on the panel. Check your car.
Handle trim
The inside door handle surround (escutcheon) comes off after releasing a screw or clip. Pull the handle open and look for the fastener. Release the handle rod or the trim plate carefully. Do not force it; the plastic is old.
Removing the panel
- Remove all screws, the crank and the handle trim.
- Insert a plastic trim tool near a clip at the bottom edge and pop it free.
- Work around the edges, releasing each clip.
- Lift the panel up and off the window sill lip.
- Disconnect any wiring for lights, speakers or mirrors.
Vapor barrier
Behind the panel is a plastic vapor barrier that keeps water out of the cabin. Peel it back carefully. If it is torn, replace it with new plastic sheet and butyl sealant. A missing vapor barrier causes water leaks and wet carpets. See door and window seals.
Reinstall
- Refit the vapor barrier.
- Reconnect wiring.
- Hook the panel over the sill lip.
- Align the clips with their holes and press them in firmly.
- Refit the screws, the handle trim and the crank.
- Test the window, the lock and the handle.
Quick answers
- Why does my panel rattle? Broken or missing clips.
- Can I reuse old clips? Some, but replace broken or loose ones.
- Is the vapor barrier necessary? Yes, it prevents water leaks.
- What is behind the panel? The window regulator, the lock rods, the mirror cables and on some cars a speaker. See door handle and lock problems and power mirror.