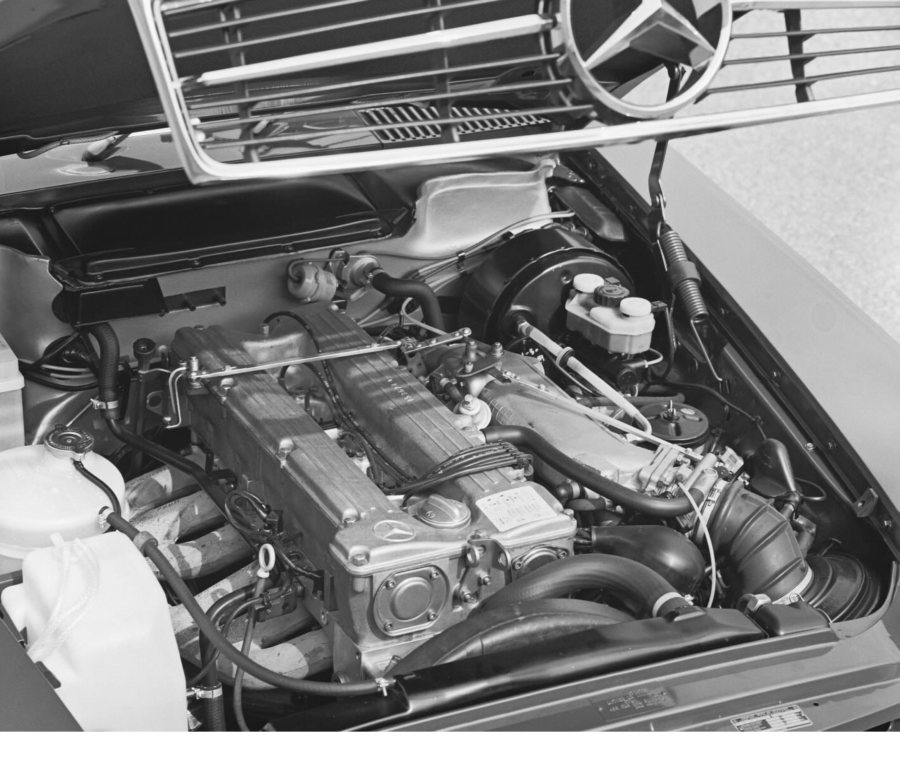
I. Removing the engine from your Mercedes R-107
Removing the engine is a precise and methodical process that requires careful attention to detail. Whether you’re performing routine maintenance or undertaking a restoration project, following these steps will ensure a smooth and successful removal procedure.
1. Preparation and Safety Measures:
Before beginning the engine removal process, ensure the vehicle is safely secured on jack stands at the front and rear, or positioned over a pit. Additionally, protect the vehicle’s fenders by placing protective blankets to prevent any damage to the paintwork.
2. Preparing the Engine Bay:
- Begin by marking the sheet metal and loosening the hood from the hinges. Carefully remove the hood.
- Disconnect the battery ground cable and consider removing the battery entirely to avoid any potential damage during the removal process.
3. Draining Fluids:
- Drain the cooling system by opening the radiator drain valve and cylinder crankcase.
- Disconnect the upper and lower radiator hoses and proceed to remove the radiator from the vehicle.
- Drain the engine oil and remove the air filter for better access.
4. Disassembling Components:
- Remove the radiator mounting rubber or clamps and lift the radiator with the frame out of the vehicle. Ensure the air oil cooler is closed before removal.
- Press off the radiator expansion tank and, if applicable, unscrew the refrigeration compressor with carrier for vehicles equipped with air conditioning. Remember not to close the refrigerant lines.
- For vehicles with level control, unscrew the pressure oil pump and set it aside. Ensure the hoses remain open.
- Suck out oil from the power steering reservoir and close the pressure hoses on the power steering pump.
5. Disconnecting Electrical and Mechanical Components:
- Unscrew the ground cable from the engine to the body and disconnect all electrical, cooling, and vacuum lines.
- Disconnect the linkage for the accelerator actuation and the reversing light cable from the drive.
- For vehicles with automatic transmission, disconnect the cable from the kickdown locker and press off the middle handlebar on the right knuckle.
- Unscrew the exhaust from the manifold and loosen the suspension bracket on the gearbox.
6. Engine Removal:
- Release the engine shock absorber and attach a suitable rope loop to the engine’s attachment points.
- Loosen and remove the tunnel striking plate and disconnect the speedometer cable and shift linkage.
- Unscrew the actuation on the clutch housing and flange the drive shaft with the drive washer off the gearbox, pushing it backward.
- Finally, carefully lift the engine at an incline of approximately 45°, ensuring it does not get caught on any cables. Constantly monitor the lifting process and ensure the rope loop remains secure throughout.
By following these step-by-step instructions, you can successfully remove the engine from your Mercedes R-107, allowing for maintenance, repair, or restoration tasks to be performed with precision and confidence. Always exercise caution and attention to detail to ensure a safe and successful engine removal process.
II. Step-by-Step Guide to Engine Installation on the Mercedes R-107
After successfully removing the engine from your Mercedes R-107, it’s time to embark on the meticulous process of reinstallation. Following these step-by-step instructions will ensure a seamless assembly, allowing your vehicle to return to its full glory with precision and confidence.
1. Preparing for Installation:
Before beginning the installation process, ensure all engine mounting brackets and bearing brackets are installed securely. Additionally, ensure the weight of the engine is free from any rope sling being used for lifting.
2. Assembling Components:
- Roll out the carriage and tighten the clamping nut on the clamping connection of the joint connection of the drive shaft. Ensure all components are aligned correctly for smooth operation.
- Adjust the radiator frame to ensure proper fitment and alignment within the engine bay.
3. Fine-Tuning and Adjustments:
- Adjust ignition timing and idle speed to manufacturer specifications. This ensures optimal engine performance and efficiency.
- Inspect engine rubber mounts or joint washers for leaks, tears, wear, or deformation. Replace any damaged components to maintain structural integrity.
- Keep oil and grease away from rubber parts to prevent degradation over time.
4. Final Checks and Tightening:
- Tighten all screws and nuts with the specific tightening torque recommended by the manufacturer. This ensures proper assembly and prevents any potential issues due to loose fasteners.
- Check whether the bonnet can be closed properly and whether it is evenly spaced from the body on all sides. This ensures a secure fitment and maintains the vehicle’s aesthetic appeal.
By following these meticulous steps, you can successfully install the engine back into your Mercedes R-107, ensuring optimal performance, reliability, and longevity. Always exercise caution and attention to detail throughout the installation process to guarantee a safe and successful assembly.


